
If you run an Amazon affiliate site, an e-commerce site, or a blog, you might need to show product comparisons to help visitors choose the right product.
And when it comes to adding a product comparison table in WordPress, you can use the default table block. It lets you add a simple comparison table.
But what if you want to add a beautiful, responsive table that looks great on all devices?
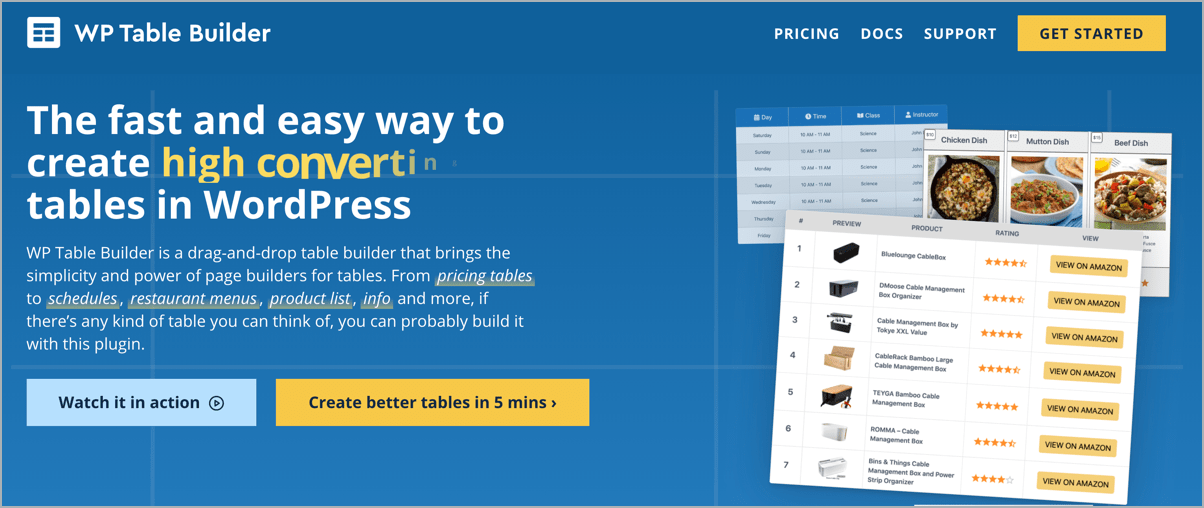
In that case, you need to use a table builder plugin. Using the WP Table Builder plugin, I’ll show you how to create a product comparison table in WordPress.
Creating A Product Comparison Table
WP Table Builder is a drag-and-drop WordPress table plugin. It’s like a page builder for creating tables. And it’s very easy to use.
Once you’ve installed and activated the plugin, follow these simple steps.
Step 1: Create A New Table
After installing & activating the plugin, go to the WordPress dashboard and click ‘Add New’ (2) from the ‘WP Table Builder’ (1) Menu.

It will launch the table builder interface. Choose your Number of rows (1) and Columns (2), then click the “Create New” button (3).

The table will be generated.
Step 2: Add Contents To Your Table
Now it’s time to add content to the table. WP Table Builder lets you add different types of content like text, button, image, rating, list, icon, and more.
First, we will add the image to the table. You can drag and drop the ‘Image’ element to add an image to the table. You can also use the ‘Custom HTML’ element to add Amazon Product images. In this case, we will use the ‘Custom HTML’ element.

Now, we will add the product’s name by typing the name in a cell, as the text element has already been added to every table cell.

Now let’s add the ‘Star Rating‘.

After that, we will add product features by using the ‘Styled List’ element.

Then we will add a ‘Buy On Amazon‘ button using the ‘Button’ element.

Now copy and drop the elements into other cells. This way, you can save a lot of time.

Now, change the information in the cells of other rows and columns.
Step 3: Customize The Table
Now let’s customize the table to make it look great.
First, we will change the table’s background color.

Then let’s remove the rows. Enable ‘Column Border Only’ from the ‘Border’ section of the ‘Settings’ tab.

Then we will separate columns from the ‘General’ section of the ‘Settings’ tab.

Then, keep the Table border to ‘0 px‘. That’s it. Our product comparison table is ready.

Step 4: Make The Table Responsive
Now let’s make the table mobile responsive.
Go to the ‘Responsive’ tab (1), click the General menu (2), and enable the responsive table (3). Click on the ‘Mobile‘ mode option (4).

If the table looks good, you don’t need to do anything. If the table doesn’t look good, configure other settings to make it look good.
Step 5: Embed The Table in WordPress Posts/Pages
To embed a table, click on the ‘EMBED’ at the top of the table builder interface, and the shortcode will be copied to the clipboard automatically. Then paste it wherever you want to embed the table.

If you’re using the Block Editor, you can use our Gutenberg integration option.
Conclusion
Hope this post helped you create a product comparison table in WordPress. If you have any questions, please ask us via comment. If you’ve found the post helpful, please consider sharing it.
Leave a Reply
You must be logged in to post a comment.