With the release of WordPress 5.0, WordPress has introduced a new editor called Block Editor a.k.a Gutenberg. It has completely changed the way the editor used to work.
The new editor is based on blocks. Every block works as an element (like we have on the WP Table Builder). To make things easier, we have introduced the “WP Table Builder” block.
The “WP Table Builder” block lets you insert, edit, and even create a new table from the WordPress editor.
Let’s see how it works with the editor.
Inserting A Table Using ‘WP Table Builder’ Block
First, go to your WordPress editor and insert the ‘WP Table Builder’ block.
You can simply type ‘/wp ‘and insert the WP Table Builder block.
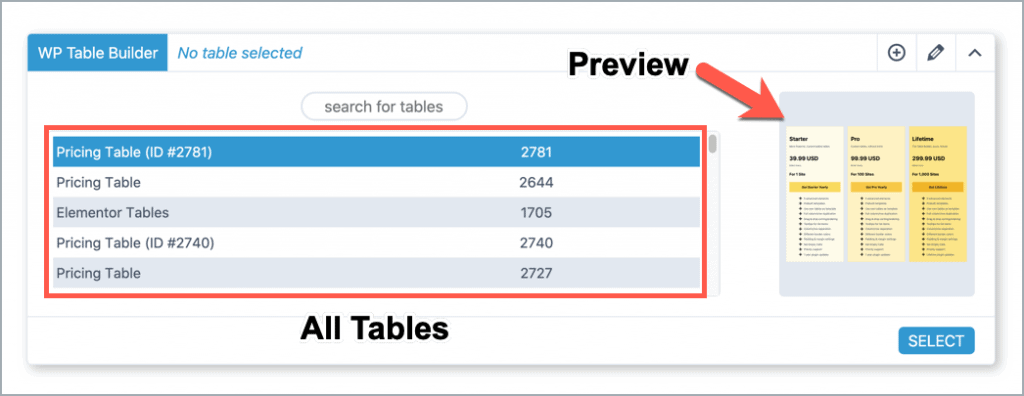
Once you’ve inserted the block. you’ll see all the tables you’ve created so far. You can also see the preview of a table by clicking on it.
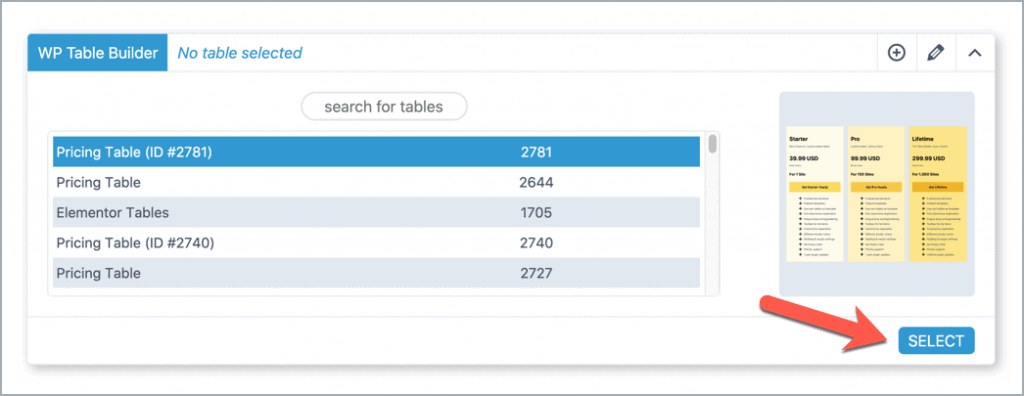
Just click the’ SELECT’ button to insert/add the table.
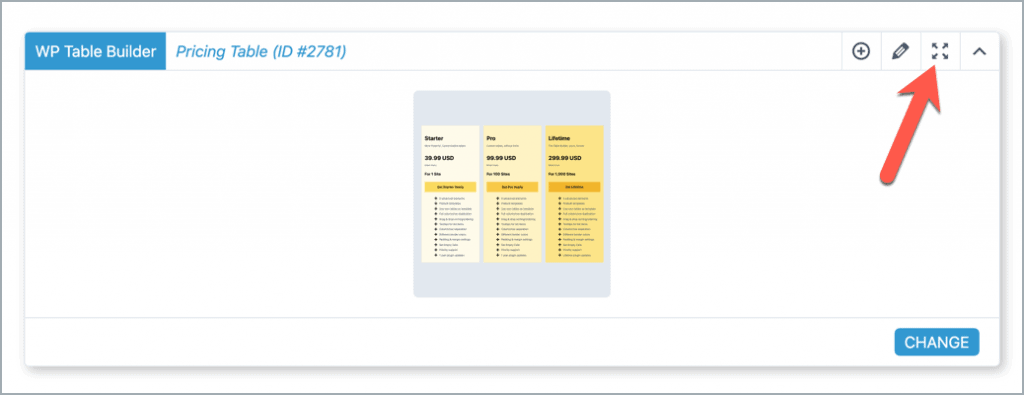
Upon selecting the table, you’ll see a small preview of the table. That means your table has been added to the post/page.
Now if you want to see the actual size of the table, you can maximize the preview by clicking on the maximize icon.
You can maximize the preview by clicking on the maximize icon.
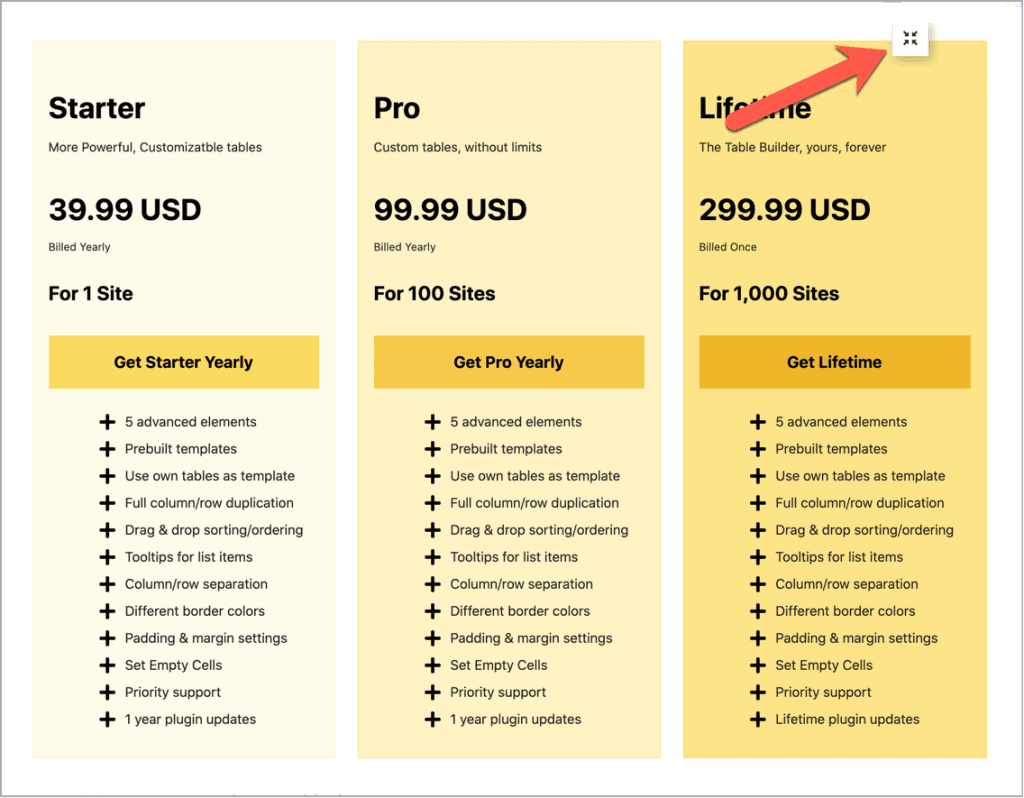
You can also minimize the view by clicking on the minimize icon.
Now you know how to insert a table using the ‘WP Table Builder’ block. Now let’s see how to edit a table from the block editor.
Editing A Table
You can edit a table right from the block editor. Just select the table and click on the edit icon.
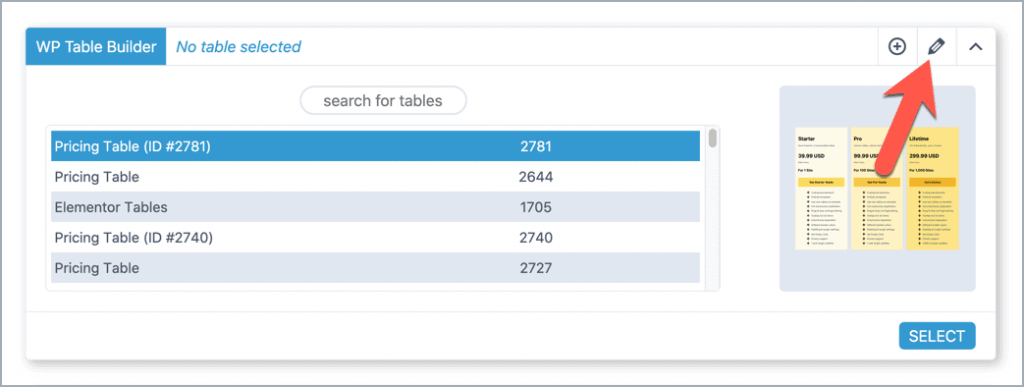
Then the table builder will be popped up there. And you’ll able to edit your table. Make sure to click on the ‘Save Table’ button before closing the table builder.
Adding A New Table
You can also add a new table right from the block editor. Just click on the (+) sign.
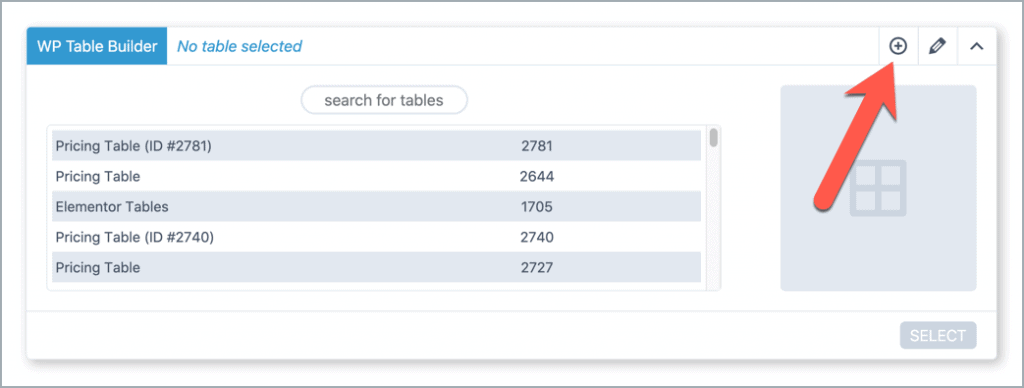
Then the table editor will be popped up there. And you’ll be able to create a new table.
Hope this tutorial helped you to get started with the WP Table Builder block. If you’ve any questions regarding this, feel free to ask us via comment.


