WP Table Builder allows you to easily change the font color and font size of the text inside your tables. You can either apply the styling to the entire table or modify specific text elements individually.
In this guide, we will show you two ways to change font color and size in WP Table Builder.
Method 1: Change Font Color and Size for the Entire Table #
This method allows you to change the font color and size for all text inside a specific table.
Note: This is not a global typography setting. The changes will apply only to the table you are editing.
Steps #
- Open the table in the WP Table Builder editor.
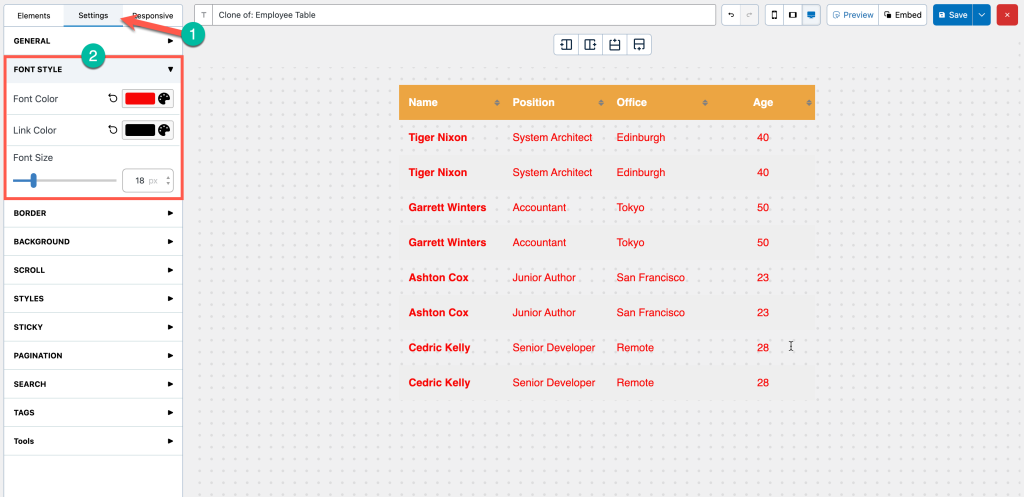
- Click the Settings tab at the top of the left panel.
- Expand the Font Style section.
- Adjust the following options:
- Font Color – Change the text color.
- Link Color – Change the color of links inside the table.
- Font Size – Adjust the text size using the slider.
Once you make the changes, they will apply to all text inside the current table.
Method 2: Change Font Color and Size for Specific Text #
If you want to style only a particular text element, you can change the font settings directly from the text options panel.
Steps #
- Open the table in the WP Table Builder editor.
- Click on the text inside the cell you want to modify.
- The Text Options panel will appear on the left side.
- Adjust the following options:
- Font Color – Set the color for the selected text.
- Link Font Color – Change the link color for that text.
- Font Size – Adjust the text size.
This will affect only the selected text, not the entire table.

When Should You Use Each Method? #
| Method | Best For |
|---|---|
| Table Settings (Method 1) | Changing the font style for the entire table |
| Text Options (Method 2) | Styling individual cells or specific text |
If you want consistent typography across your tables, we recommend using Method 1. If you only want to highlight or customize certain values, Method 2 is the better choice.


